Taking time during the off season to tune up your planter ensures you’re ready to roll into the fields soon as planting season arrives. In January we published a post highlighting some key tips for Seed Meter Care and Maintenance, which I encourage you to check out if you missed it.
Today we’re going discuss proper care and maintenance of your fertilizer and no-till attachments. Here are the key components you will want to inspect for wear and clean/replace as needed.
No-Till Coulters – Ensure the no-till coulter blade is approximately ¼” shallower than double disc opener blades. It can be adjusted down with different adjustment holes in no-till coulter arm. Set the planter down on a level surface to check.
Check No-Till Coulter Diameter – New is 16″ and worn is 14.5″ – at which point you’ll want to make sure to replace them.
Residue Wheels – Check bearings in residue wheels and make sure the height adjustment is free to move.
Fertilizer Openers – Check the fertilizer knife to blade adjustment. It should touch the blade with light contact. This will keep dirt from building up between the knife and blade. If you cannot adjust against the blade, the knife needs to be replaced.
Check the drop tube to ensure it is adjusted and in the shadow of the fertilizer knife. Make sure the drop tube is in good shape and mounting tab at the bottom of the tube is attached. Be sure to grease the openers as well.
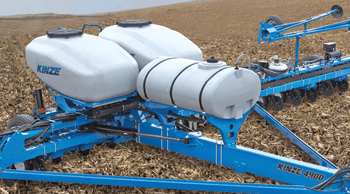
Fertilizer Hoppers – Make sure drop hoses for dry fertilizer are attached and in good shape. Grease the auger bearings as well.
Fertilizer Pump – Check the crankcase oil and drive chain.
Following these care and maintenance tips will help ensure your fertilizer and no-till attachments are ready to roll come planting season. For more information and additional care tips, you can always refer to the equipment owner’s manual.
Fertilizer manual.pdf